
What You Get in the Box (And Why It Matters)
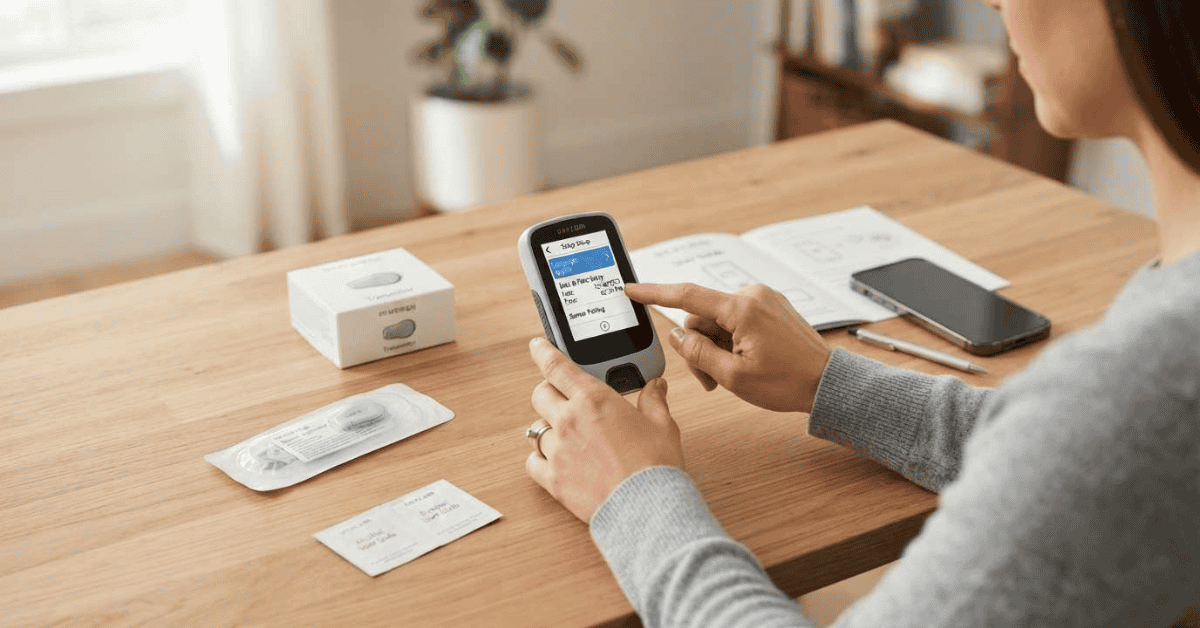
Your Dexcom G6 continuous glucose monitor kit typically ships in three separate packages: the receiver with its charging cable, the transmitter, and the sensors. The receiver usually arrives partially charged, but it is worth plugging it in for 20 to 30 minutes before you begin, since a dead battery mid setup is the most common reason people restart the process from scratch.
Keep your printed instruction booklet nearby even if you plan to follow this guide, because sensor lot numbers and troubleshooting codes can vary slightly between shipments.
Step 1: Power On and Configure the Receiver
Press and hold the power button for two to three seconds until the screen lights up. Once the software loads, tap "Next" on the welcome screen and you will be prompted to:
These thresholds are not one size fits all. Talk to your endocrinologist or diabetes educator about where your personal targets should sit before you lock them in, since alert fatigue from poorly calibrated limits is a real reason people stop trusting their blood sugar meter alerts altogether.
Step 2: Enter the Sensor Code and Transmitter Serial Number
This is the step people get wrong most often. Every Dexcom G6 sensor box has a unique sensor code printed on the applicator, and it must match the sensor you are about to insert. Entering a mismatched code will not damage anything, but it will throw off your first readings and force you to restart the pairing process.
You will also need the transmitter's serial number (SN), which is printed on the transmitter itself and on its packaging. Once both codes are entered, the receiver begins searching for the transmitter over Bluetooth. During this search window you will not receive any glucose readings, so this is not the moment to skip ahead and remove your old sensor if you are switching from another device.
Step 3: Insert the Sensor and Attach the Transmitter
Pick an insertion site on your abdomen, at least three inches away from any insulin pump infusion set or injection site. Wash your hands, clean the area with an alcohol wipe, and let it air dry completely, since residual moisture is a common cause of sensors detaching early.
Remove the adhesive backing from the applicator without touching the sticky underside, place it firmly against your skin, break off the safety guard, and press the orange button. Snap the transmitter into its holder on the sensor base until you hear it click into place.
Step 4: Start the Two Hour Warmup
Back on the receiver, confirm that the sensor is inserted and the transmitter is attached. Tap "Start Sensor" to begin the warmup period. Keep the receiver within 20 feet of your body during this window, since Bluetooth range drops significantly through walls and furniture.
No alerts or readings will appear for two hours. This is expected behavior, not a malfunction. Use a standard blood sugar meter for any treatment decisions during this window, since your continuous glucose monitor is still calibrating to your body's tissue fluid.
Step 5: Read Your First Glucose Number
Once your warm-up is complete, your meter will display a glucose level within a circle and an arrow indicating the direction and rate of change of your glucose level. Your glucose level is automatically updated every five minutes. If there is no arrow, it indicates steady glucose level, while a diagonal arrow represents an unstable level.
Dispatch My Meds is a licensed DME supplier. We verify your insurance before your first order and ship Dexcom G6 sensors fast across the US.
Common Setup Issues and Fixes
| Issue | Likely Cause | Fix |
|---|---|---|
| Receiver won't turn on | Battery drained in transit | Charge for 30+ minutes using the included cable before retrying |
| "Sensor Not Found" message | Transmitter out of Bluetooth range | Keep receiver within 20 feet during pairing and warmup |
| Sensor code rejected | Code entered does not match physical sensor | Recheck the code printed on the applicator label |
| Sensor falls off early | Skin not fully dry or oily before application | Clean skin thoroughly and let alcohol dry before attaching |
| No readings after warmup | Warmup interrupted or receiver moved out of range | Restart sensor session per the official troubleshooting guide |
Receiver vs. Smartphone App: Which Should You Use?
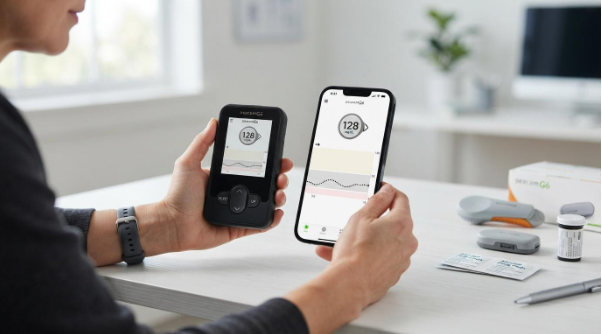
Dexcom explicitly designates the receiver as a dedicated medical device, while a smartphone running the G6 app is not, since phone settings, battery drain, or app crashes can cause a missed alert. Many users, especially Medicare patients or those in fields where phones are restricted, prefer the receiver specifically because it does not depend on a personal device staying charged and connected. You can use the receiver alone, the app alone, or both together, though Dexcom does not recommend relying on both for alerts since each only fires the alerts configured on that specific device.
Does the Dexcom G6 require finger stick calibration?
How long does one sensor last?
Can I set up the receiver and the app at the same time?
Setting up a Dexcom G6 receiver is straightforward once you know the sequence: charge, configure, code, insert, warm up, and read. Following the steps in order, rather than skipping ahead when the two hour wait feels tedious, is what separates a smooth first week from a frustrating one.
This guide is for informational purposes and does not replace instructions provided by Dexcom or advice from your healthcare provider. Always follow the official Instructions for Use included with your device.